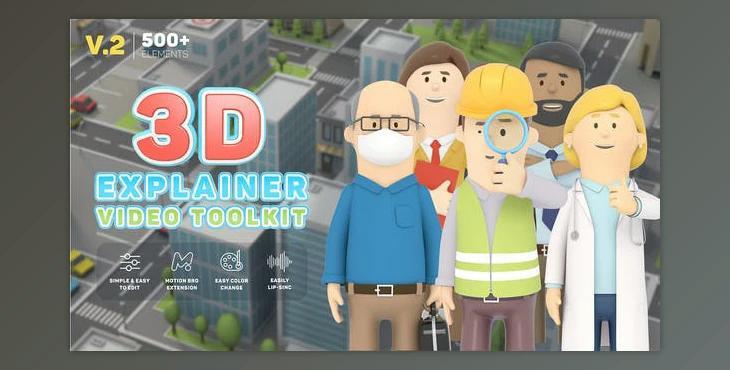
Would you want to create a Tricky Movie for your Company? Try out something unique! Surprise your viewers with an Exceptional style -- 3D Explainer Video Toolkit.
Gfx plugin details of 3D Characters Explainer Toolkit V2 - 26491556
The product is in the After Effects Project category from VIDEOHIVE, for more information about this post, you can click on the home page link in the sidebar.
To search for similar products to 3D Characters Explainer Toolkit V2 - 26491556,
An Enormous Selection of premade icons, scenes, titles, backgrounds, and Transitions will assist you in producing unique, animated advertisements, explainers, And company presentations effortlessly. You do not have to spend tens of thousands of Bucks on cartoons. All you will need is 1 product.
Presets application
- To apply the preset, select the active composition and click «Apply» for the picked preset.
- The preset will be added to your composition by time indicator.
- If any layer is selected in your composition, the preset will be added to this layer.
- To replace the added preset quickly, select it in the active composition and apply a new preset by holding the «Control» key. (Ctrl+Click)
Customization of presets
- To customize the added preset, open the composition of the preset and change all the available items here.
To change the text, edit text layers. - To use your photos and videos in the scenes, open a similar placeholder and insert your media here.
- Other settings are usually located on the "Settings" layer.
- For example, here, you can change the color and style of elements.
- Select the "Settings" layer, select each color in the effects panel, and change it.
Link with Master Scene
- Now it's enough to change settings in one master scene, and these settings will be linked for all the other scenes.
- So, select all the scenes in active composition for which parameters should be linked.
- Do «Link with Master Scene» on the Motion Bro extension.
- Select the composition here that will be used as a master scene.
- This composition will be marked by the prefix - «Master.»
Lip-Sync Control
- Select character animation in the Lip Sync folder.
- Inside the composition, there are four different character animations.
- Each of them consists of two layers marked with the same color.
- These layers must always move together.
- To increase the video length, you can shuffle animations or duplicate them.
- Add your audio track and arrange the animations according to the audio flow.
- When you select the Lip Sync layer and open the Effect Controls panel, there is a Mouth On/Off effect.
- In the Effect Controls Panel, Click the Stopwatch icon to activate the keyframe and configure the On/Off keyframe by referring to the audio waveform.
Delete Unused Comps
- While you pick presets, many can be stored up in your project but not used anywhere else.
- Do the action «Delete Unused Comps» to delete all the unnecessary items and thus optimize your project
